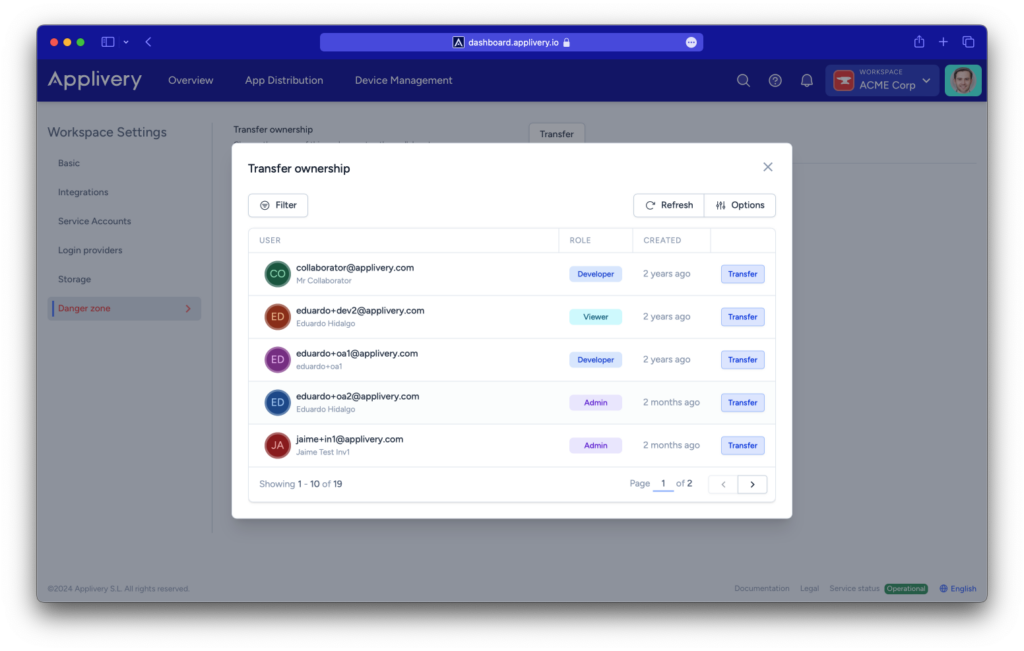
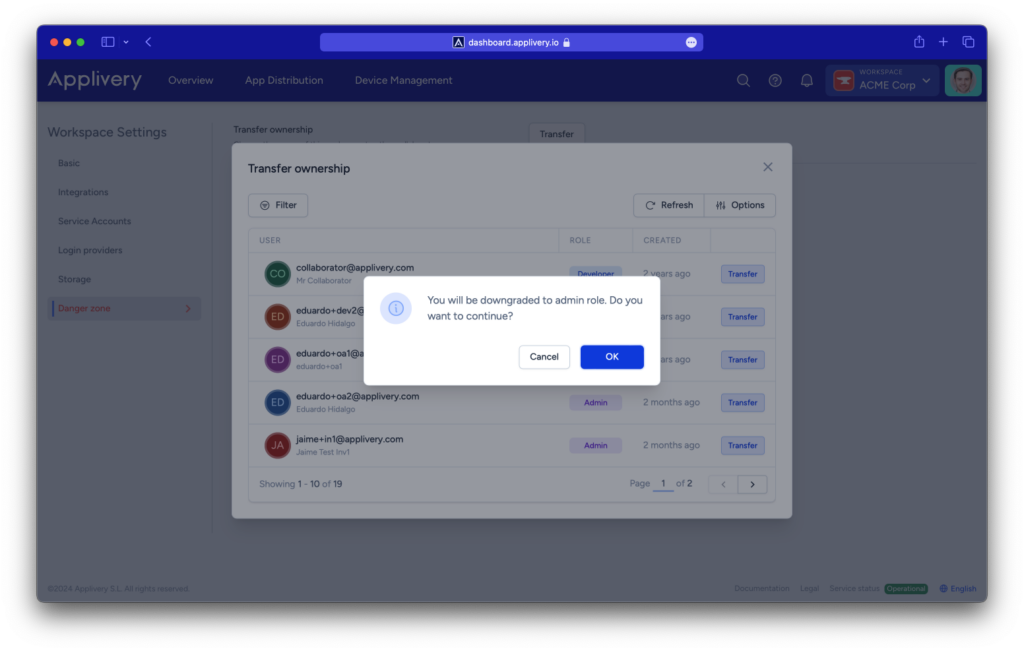
Workspaces have been created to provide an additional layer of governance over your Apps and Devices. Billing has been moved under the workspace level for a more intuitive management.
Working with workspaces #
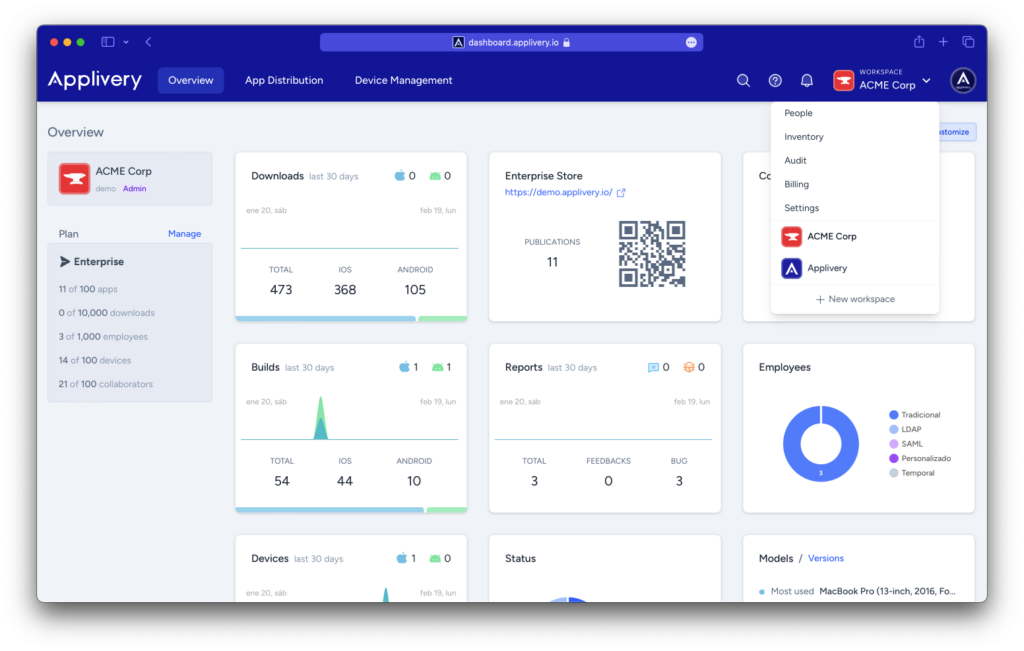
You can easily switch between workspaces by going to the top navigation bar and click the workspace dropdown menu that contains your current workspace name. Then select the workspace you want to go.
Under the Workspace dropdown menu you will also find the following options:
- People
- Audit
- Billing
- Settings
Creating a workspace #
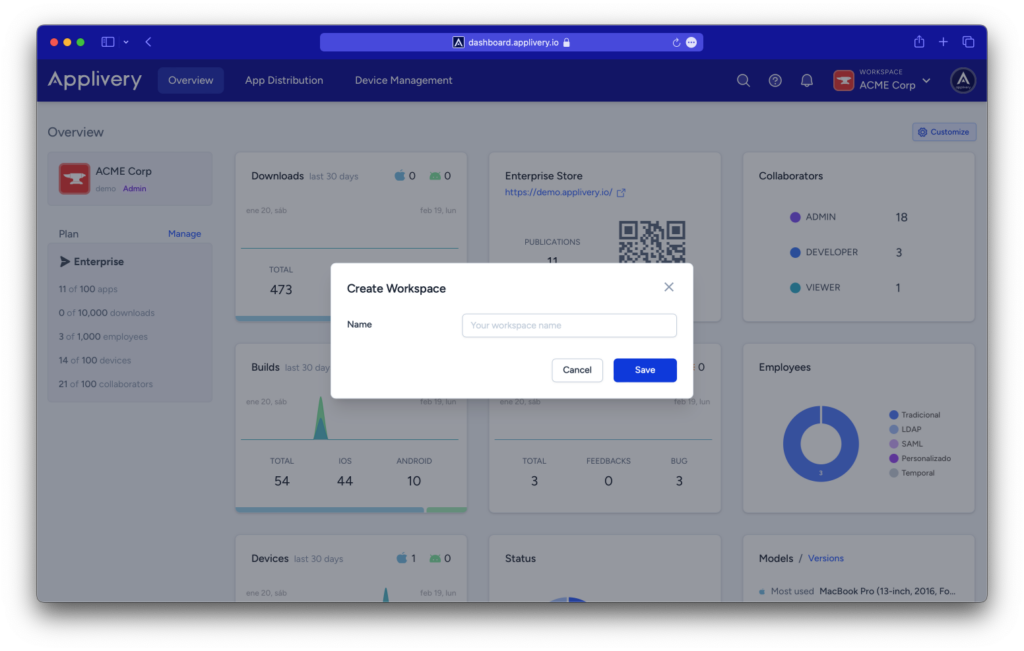
To create your workspace go to the top navigation bar and click the workspace dropdown menu that contains your current workspace name. Then click the + New workspace button and type a name.
Billing and Payment information #
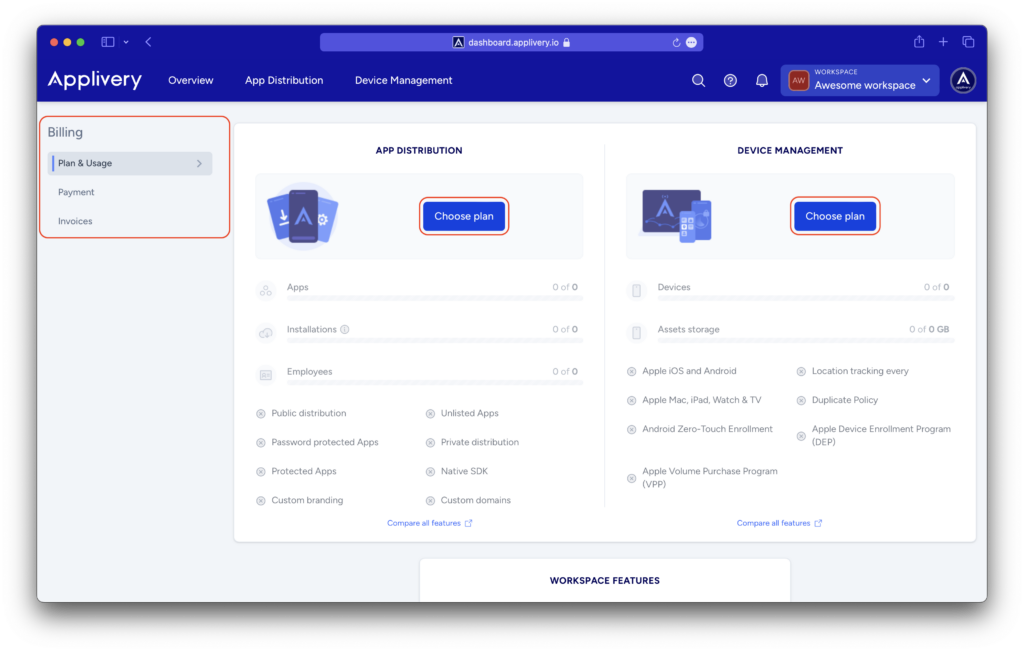
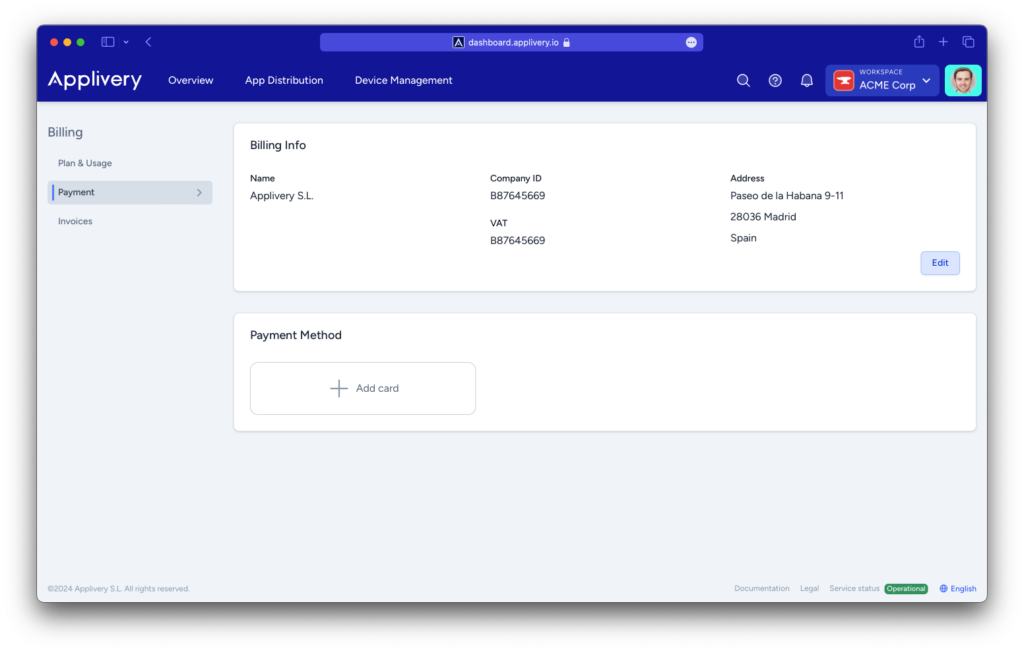
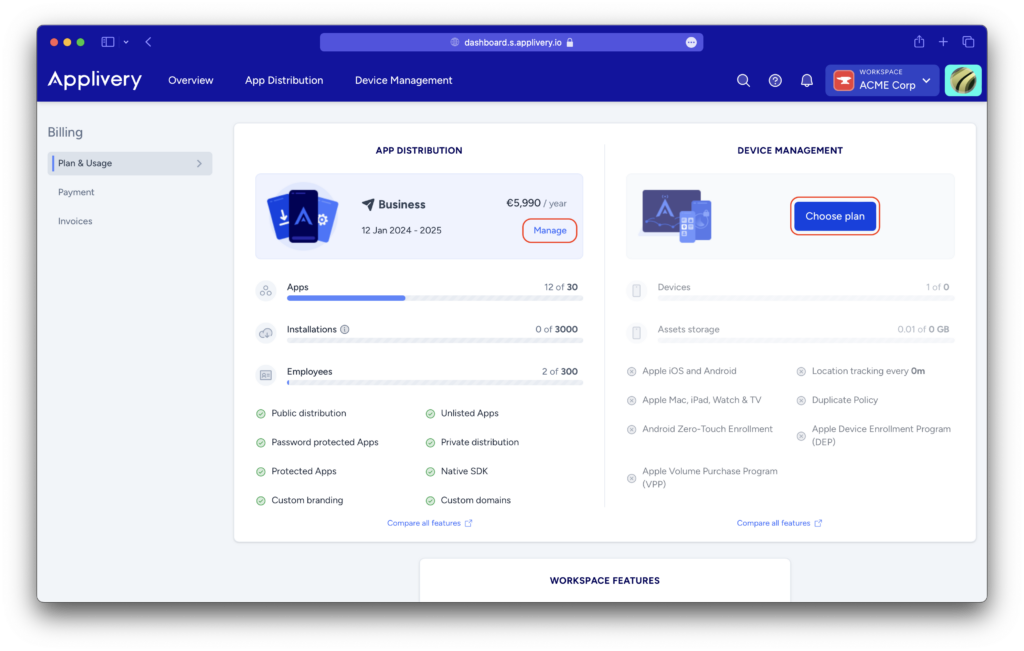
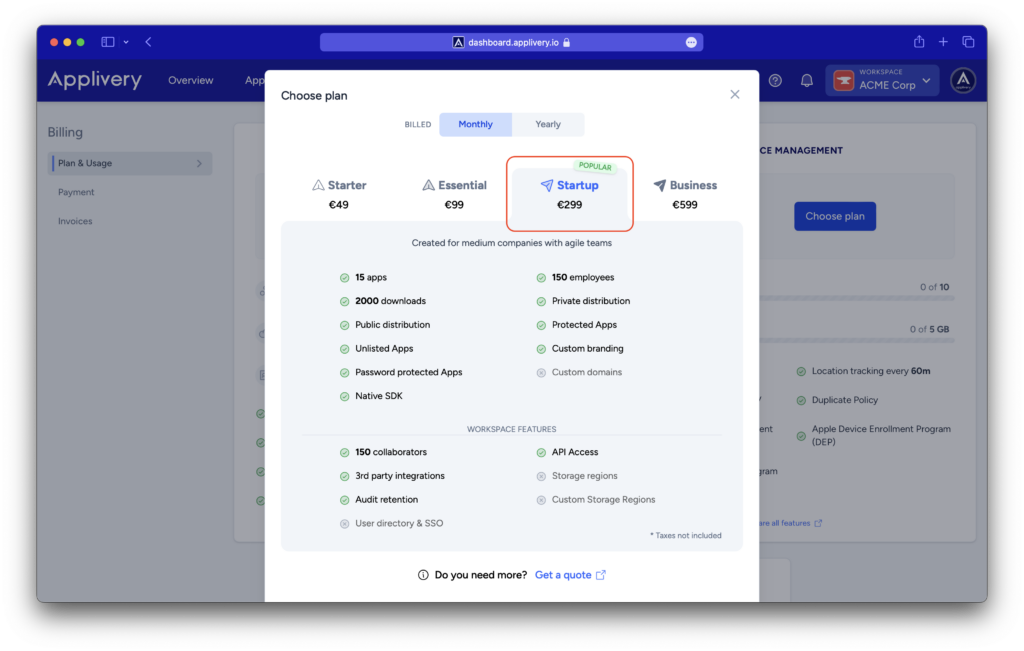
Billing and payment information is managed at Workspace level in Applivery. Here you will be able to change between plans, add additional features, manage your subscriptions, and access your billing history.
To do so, please:
- Make sure you have selected your Workspace from the navigation bar dropdown menu.
- Go to the Billing section.
- Use the left-side menu to navigate through the different sections:
- Plan & Usage: choose plans, upgrade, cancel, and see your current plan usage.
- Payment: manage billing information and payment methods.
- Invoices: history of invoices associated with your workspace.
Update billing and payment information #
Managing your subscription #
Transfer ownership #
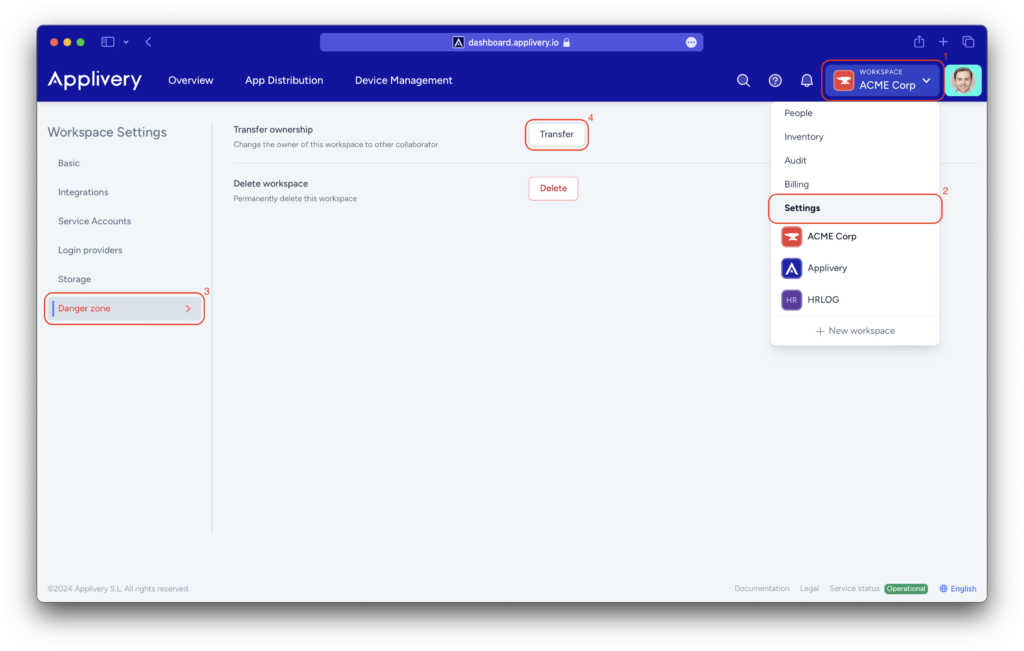
Choose a user from the existing list of organization members.
