Bitrise: Are you looking for a simple but powerful way to automate your mobile development life cycle?
If so, probably Bitrise.io + Applivery is the solution you need.
What is Bitrise.io? #
Bitrise.io is a Mobile Continuous Integration and Delivery system specially designed for iOS and Android native Apps, with dozens of integrations for your favourite services, one of them, of course, is Applivery!
Bitrise.io will help you automatize the whole development cycle, detecting your commit/push to your repository and launching builds with specific workflows you can customize as Lego pieces to build, sign, modify, and even deploy your builds automatically.
The Applivery Step for Bitrise.io will allow you to automatically deploy new versions to your Applivery account in a very simple and fast way. You’ll also take advantage of the contextual information provided by Bitrise and easily jump from Applivery to have a look at each build.
How does it work? #
First of all, you have to register an account at Bitrise.io. Once done, you can start syncing your repositories and start building your Apps.
Bitrise.io uses Workflows to define what actions should be taken while building a new version of your App. By default, they will create a standard workflow according to the technology of your App.
You can place the Applivery Step at the end of your Bitrise.io workflow so they will deploy the package of your App to the Applivery account automatically. To do so, just follow the next steps:
Step 1 - Log-in into your Bitrise.io account #
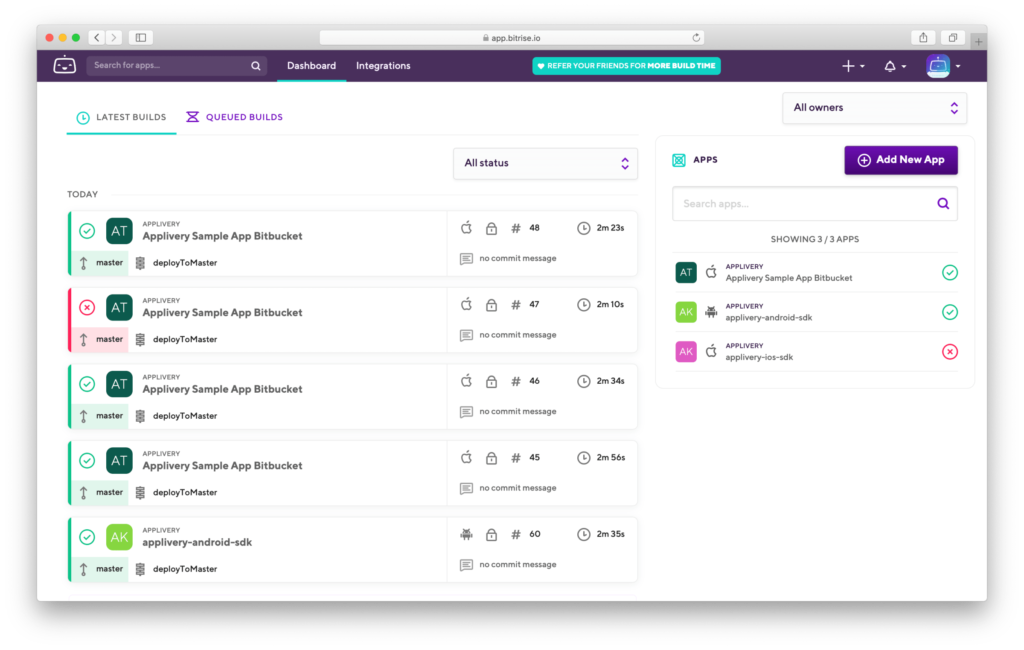
Login into your Bitrise.io account. You’ll see your existing Apps. If you still don’t have one, click the + Add New App button to sync your Bitbucket, GitHub, or GitLab repository, following the instructions.
Step 2 - Edit workflow #
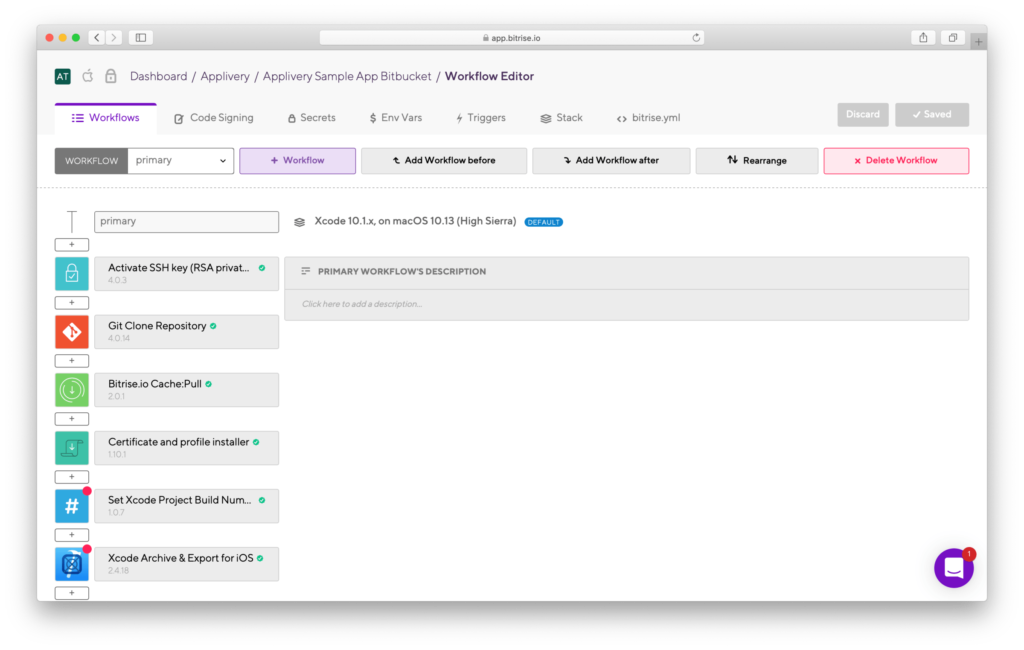
Select the App where you want to integrate Applivery. Once inside, select the Workflow tab.
Step 3 - Add Applivery deploy step #
That’s all! You’ll be automatically redirected back to Applivery and we’ll start sending notifications to your Slack team immediately.
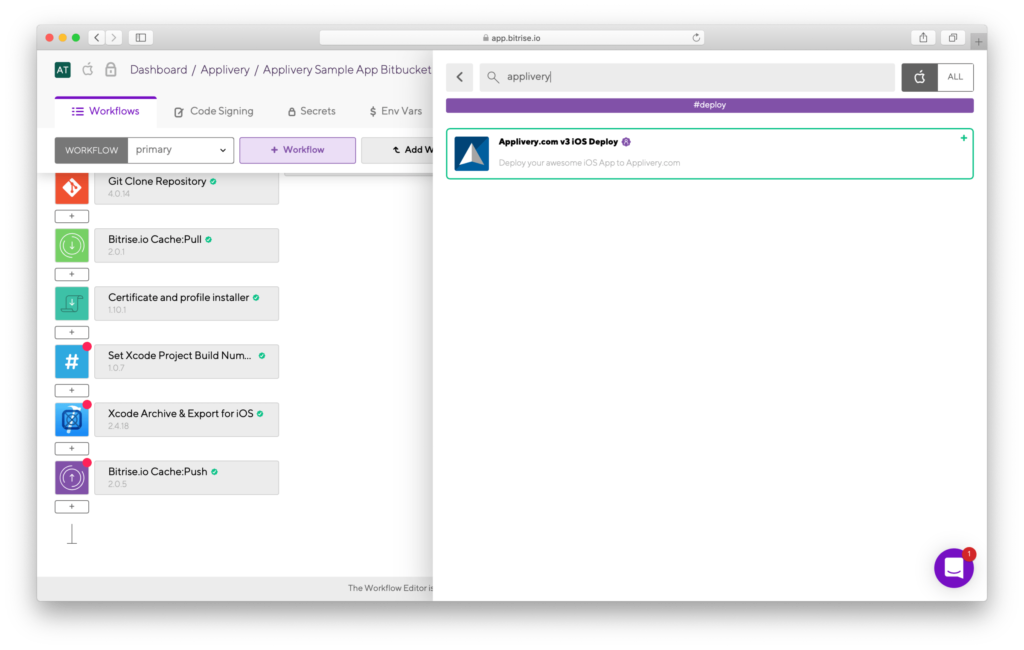
Once found, click the Add to Workflow green button.
Step 4 – Get you Applivery App Token #
Step 5 – Setup your App Token in the Bitrise project. #
We are almost done. Now it’s time to paste your Applivery App Token in Bitrise.io
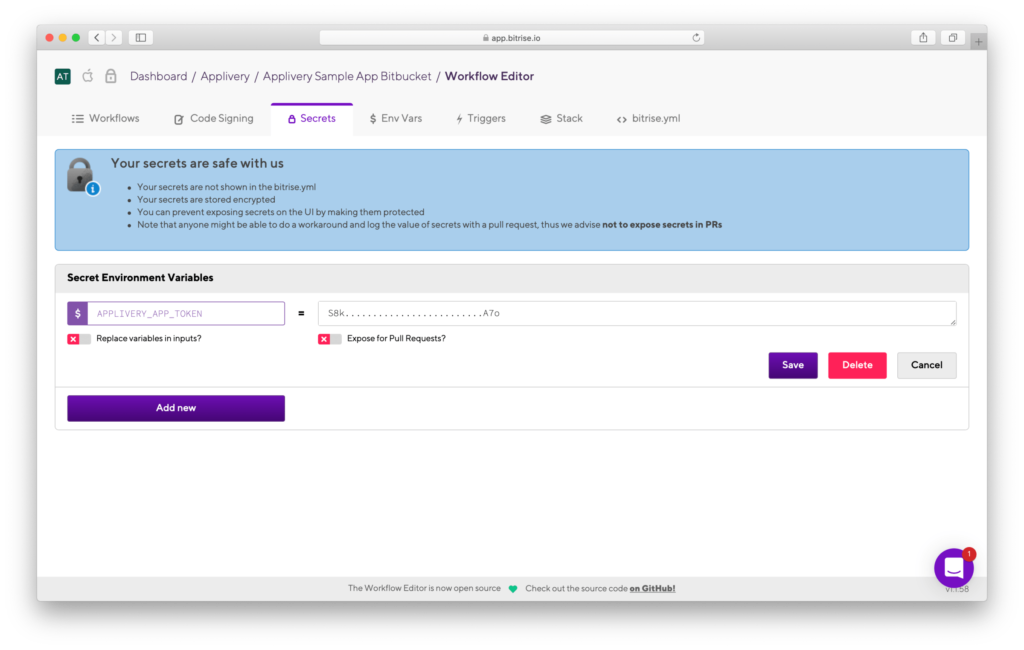
Go to the top menu of the Bitrise.io dashboard and select the Secrets menu option. Click the Add New button and type APPLIVERY_APP_TOKEN in the left side input form and paste your Applivery App Token in the right one and click “Save”.
Step 6 - Build and deploy #
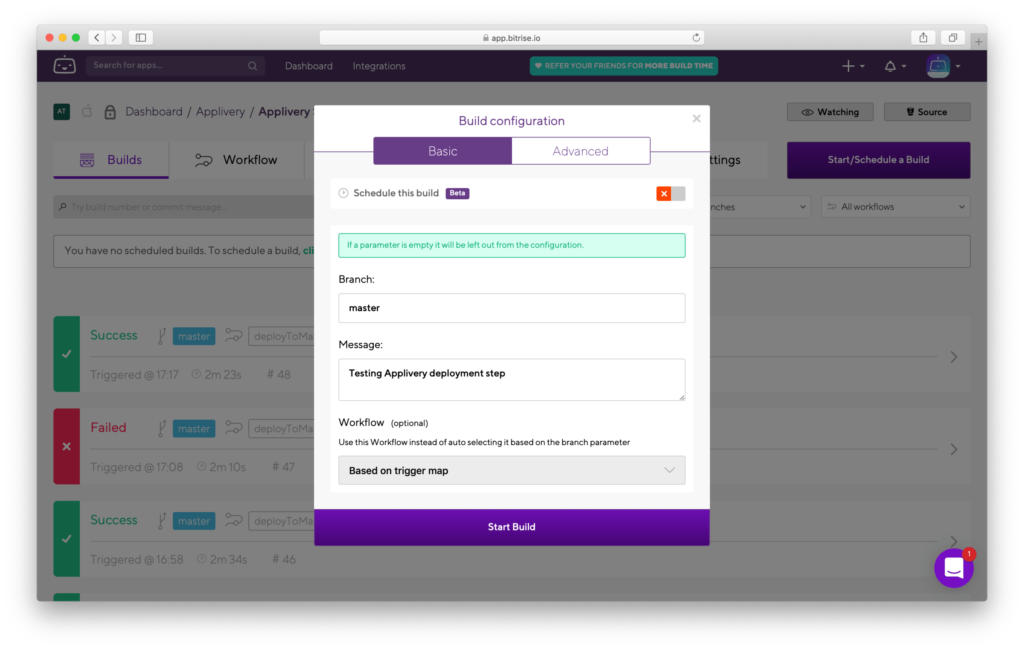
And that’s it! Your project is now connected and your Bitrise.io App is pointing to your Applivery App. To test if everything is working properly just go to your Bitrise.io App, click the Start/Schedule a build button, and let the magic happen!
